This page was adapted from Dr Hangyoung Lee’s Methods101 resources by Ryan King.
In SPSS Help: Running SPSS. You were shown how to transfer files between the folder of Temporary Files at AppStream and your local computer. However, this method requires you to upload and download files every time you log on and off, which is very annoying.
Linking Google Drive to AppStream can make you avoid this inconvenience. When you save SPSS files in Google Drive, it automatically synchronizes saved files between AppStream, Google Drive and your local computer. It is the easiest way to save and re-use your working files. This means that your saved work files are in your Google Drive, and thus you can continue working on them next time you log on without uploading the files. So, I strongly recommend you to link Google Drive to AppStream.
Follow the steps below to add your MQ student Google Drive account to AppStream for the first time:
- Select the My Files icon (found at the top left of your browser after you start SPSS on AppStream).

Figure 1: <Figure 1>
- In the My Files dialogue box, select Add Storage.
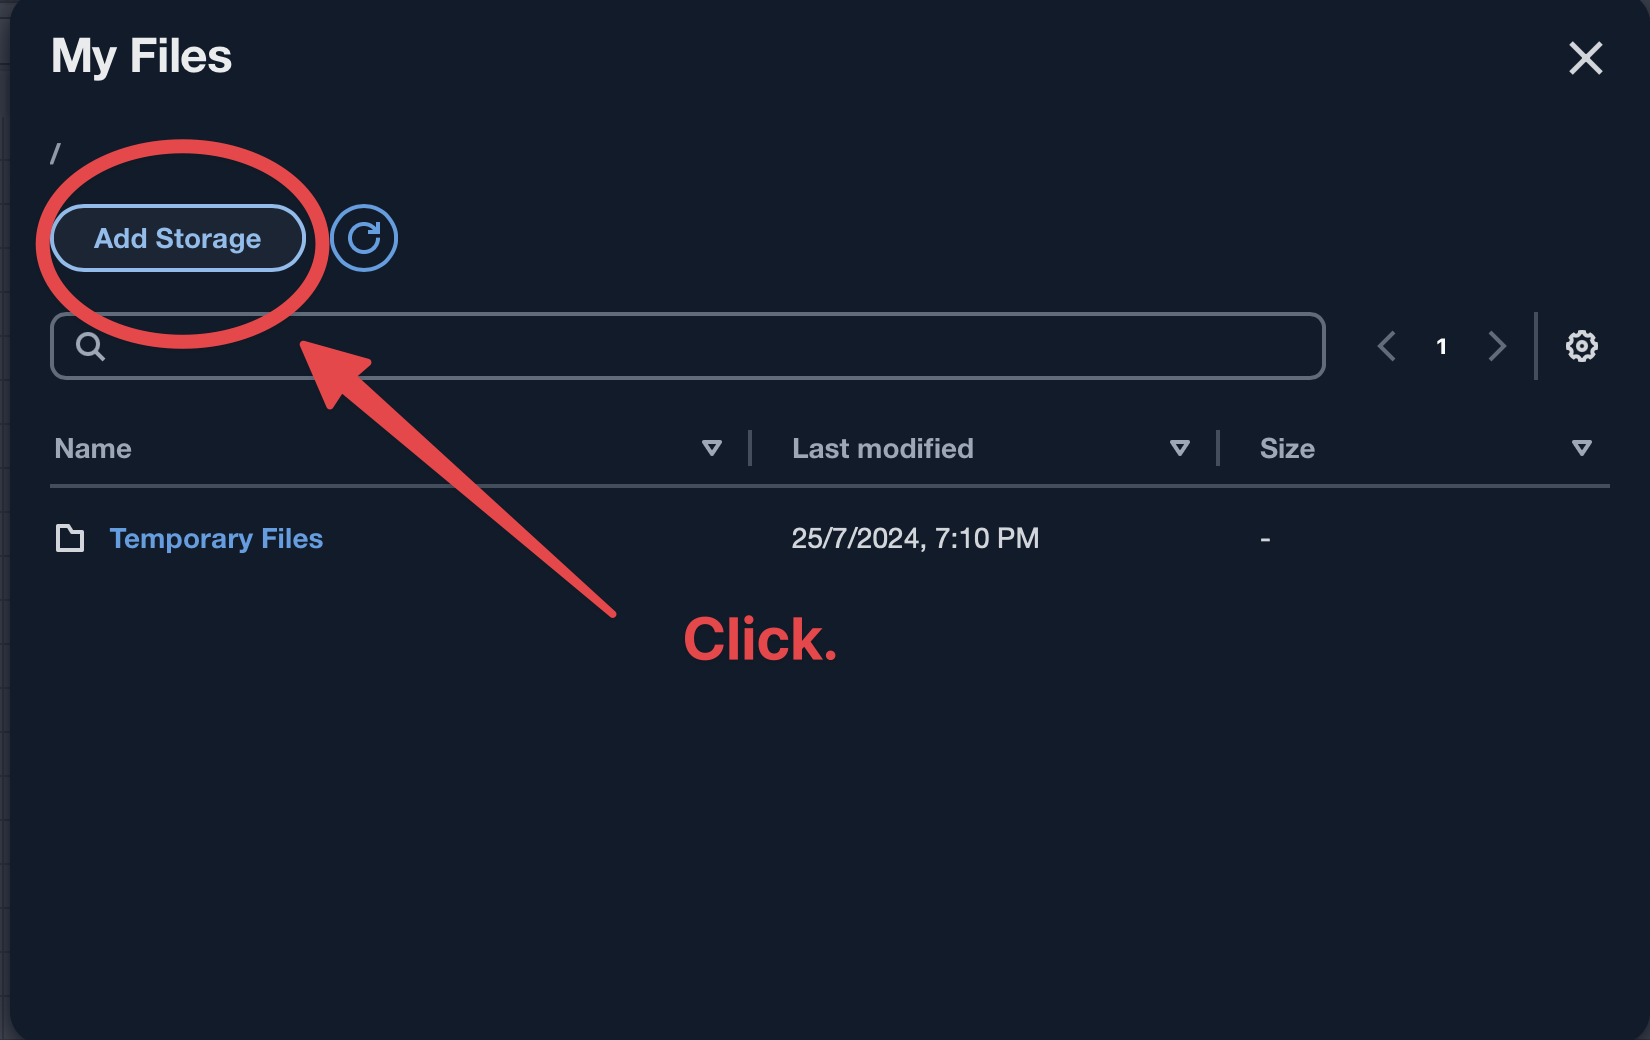
Figure 2: <Figure 2>
- Select Google Drive.
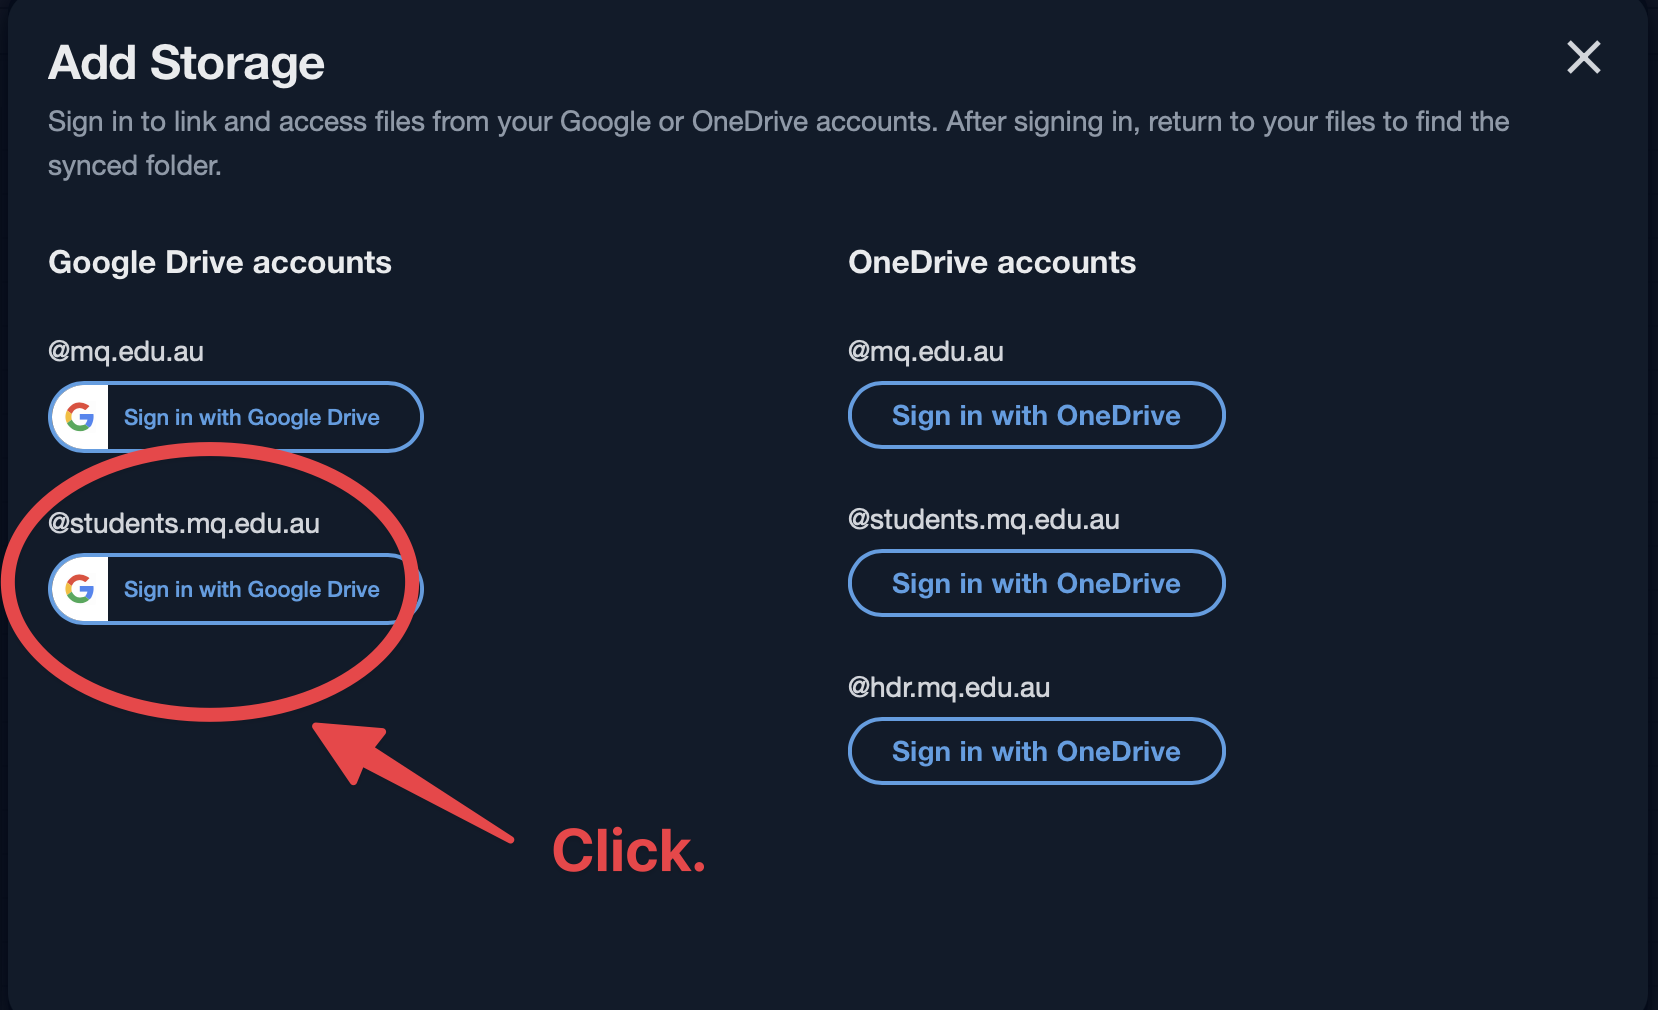
Figure 3: <Figure 3>
- Select @students.mq.edu.au for your Google Drive account.

Figure 4: <Figure 4>
- The Sign in with Google dialogue box will pop up. Type the user name and select Next.
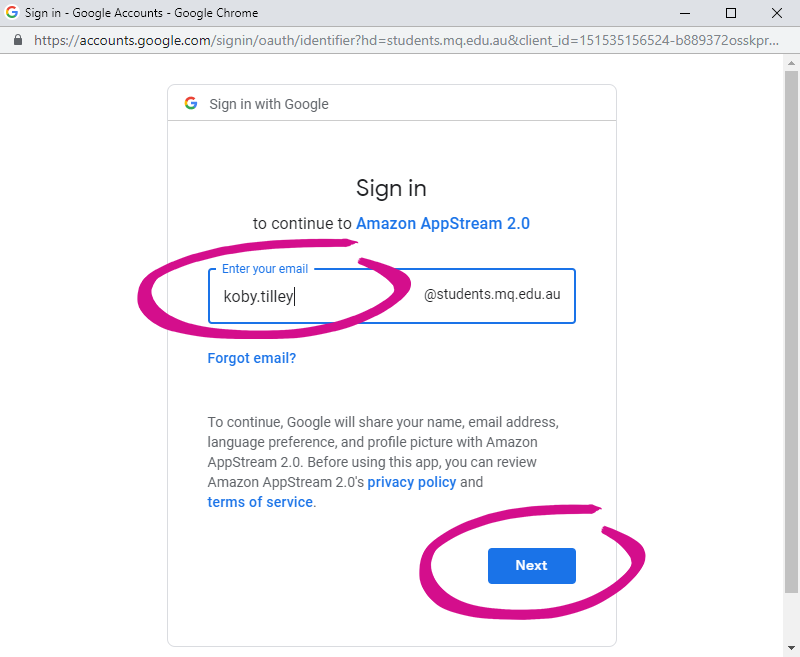
Figure 5: <Figure 5>
- Type the password for your Google Drive account and select Next.
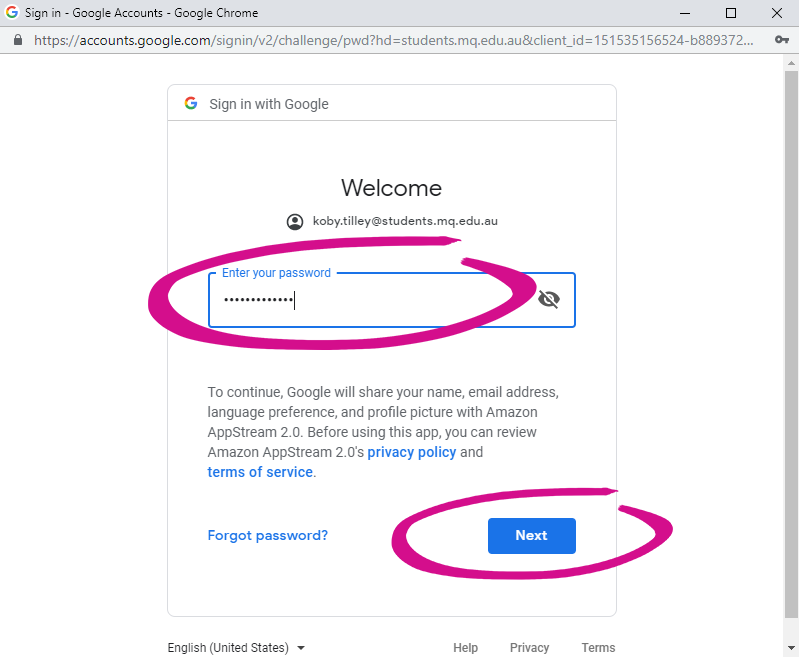
Figure 6: <Figure 6>
- After your Google Drive account is added, your Google Drive folder displays in My Files. To work with your files and folders in Google Drive, click the Google Drive folder and browse to the file or folder you want. My recommendation is to click My Drive (see <Figure 7>).
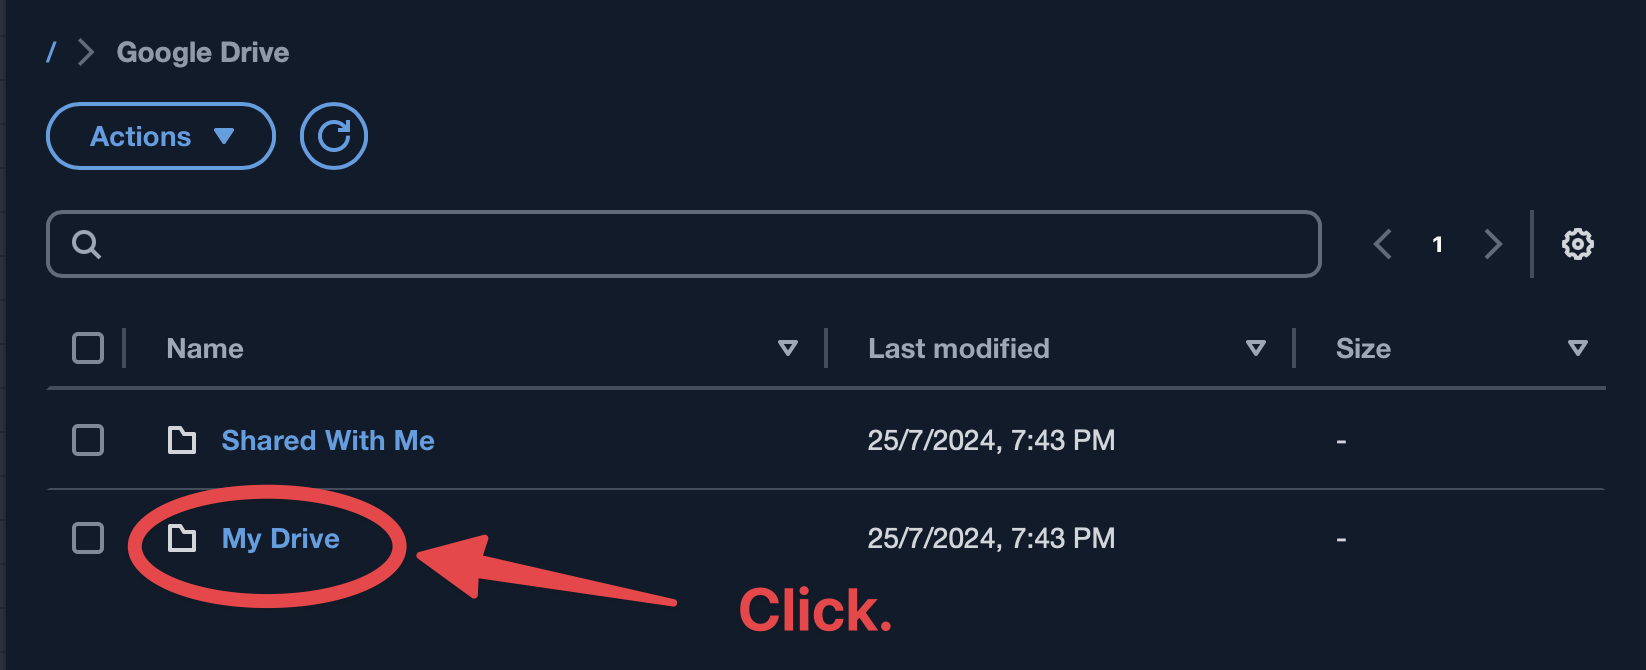
Figure 7: <Figure 7>
- Click the icon of Add Folder (see <Figure 8>) and type SOCI2000. Then press ENTER.
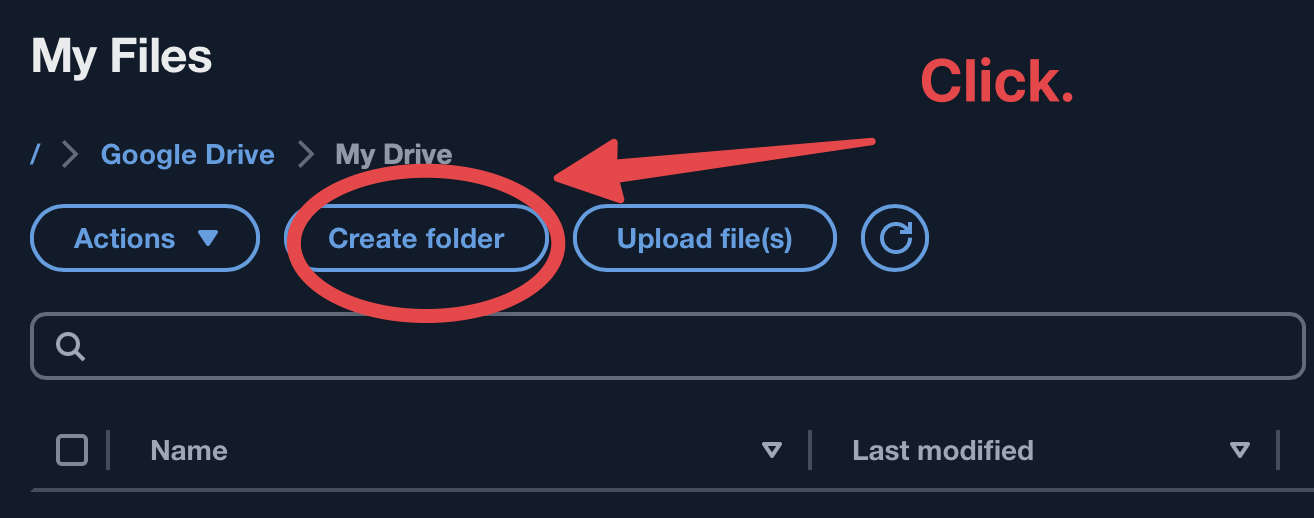
Figure 8: <Figure 9>
- You will see a new folder named SOCI2000 (see <Figure 9>).
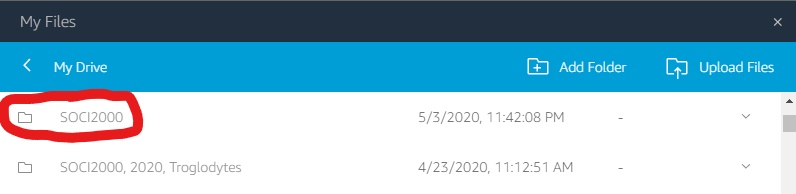
Figure 9: <Figure 8>
- Click SOCI2000. After that, you can upload your dataset files by clicking the icon of Upload Files (see <Figure 10>). The dataset that will be used in class can be found here. Use the .sav file. How to get this file into SPSS is described here in step 3.
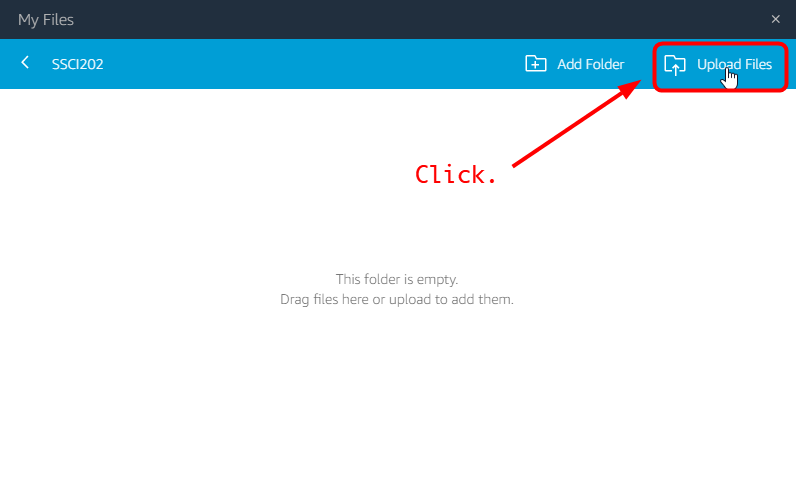
Figure 10: <Figure 10>