This page was made from Dr Hangyoung Lee’s resources.
Introduction
For these labs we will use the statistical package SPSS.
SPSS is one of the most widely used statistical packages in the world. It is owned by the famous company IBM.
The main advantage of SPSS is that it is user friendly - with point and click functions, like most Windows programs.
The disadvantages of SPSS are:
- It is expensive to use once you graduate. A one year licence can be any where from $1000 to $10,000 per year.
- It has limited customisation and support for more advanced statistics. Unlike packages like Stata and R, SPSS lacks the ability to be easily customised, and because of this some of the most advanced or recent developments in statistics are not available, or are very expensive to buy.
How to access SPSS
SPSS is the primary statistical analytic tool for SOCI2000. To run SPSS you will need to access it via Appstream which is available to Macquarie University students. The advantage of Appstream is that it is free. The disadvantage is that you need to access via the internet, and sometimes it is a bit hard to transfer files in and out of Appstream.
If you want to install SPSS on your personal computer, you need to purchase the license. Several online stores offer an academic discount for students. It currently costs USD 34.95 for a 6-month license or USD 90.99 for a one-year license. You can buy it at StudentDiscounts.com, choose “IBM SPSS Statistics Grad Pack 26.0 STANDARD”.
How to access SPSS via AppStream
Without purchasing the license of SPSS, you can access it from your personal computer via AppStream. AppStream is Macquarie University’s new application streaming service. AppStream offers a new user interface and much more:
- Faster and more secure way to access applications using your MQ OneID and password to login to AppStream.
- Access applications anywhere, anytime and on any device via web browser (Google Chrome is recommended).
- Easily save and upload your AppStream session files on Google Drive or OneDrive.
- Improved stability, performance and security for applications on demand.
More information is available at https://wiki.mq.edu.au/display/appstream/About.
How to get started with SPSS via AppStream
Note: AppStream is designed to work with Google Chrome.
- Visit https://mq.okta.com/ with your MQ OneID and password, then select Sign In.
Note: Google Chrome is the recommended web browser for AppStream.
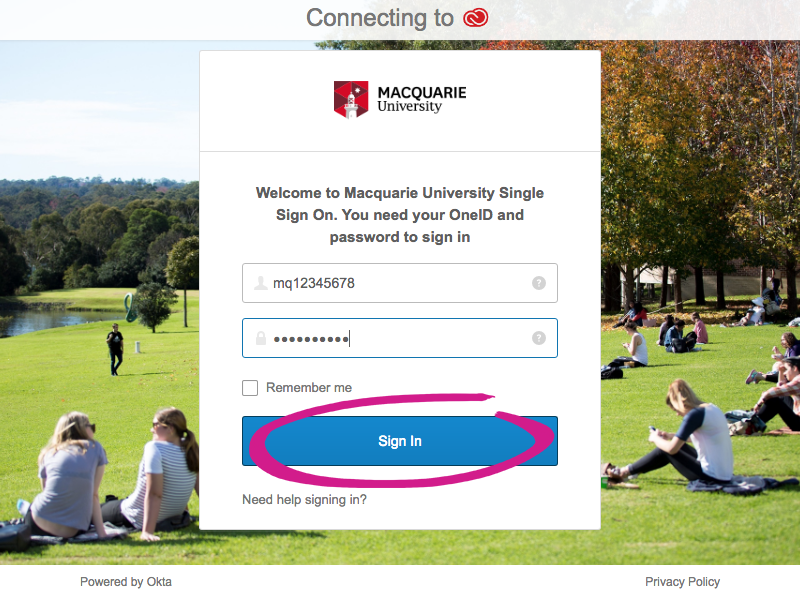
Figure 1: Sign In AppStream
- Select the AppStream - Student Applications icon.
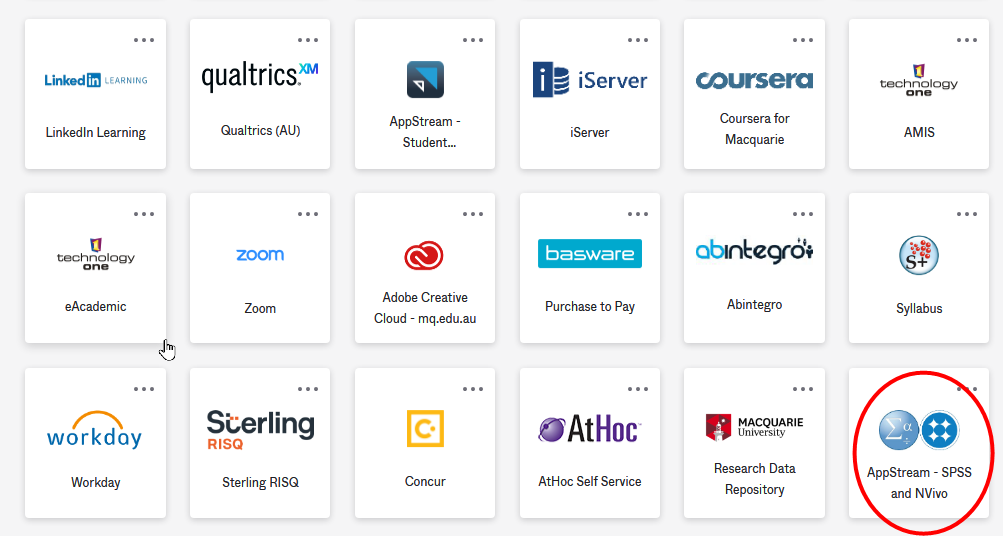
Figure 2: Select AppStream
- Select IBM SPSS Statistics 25 and wait for the application to launch.
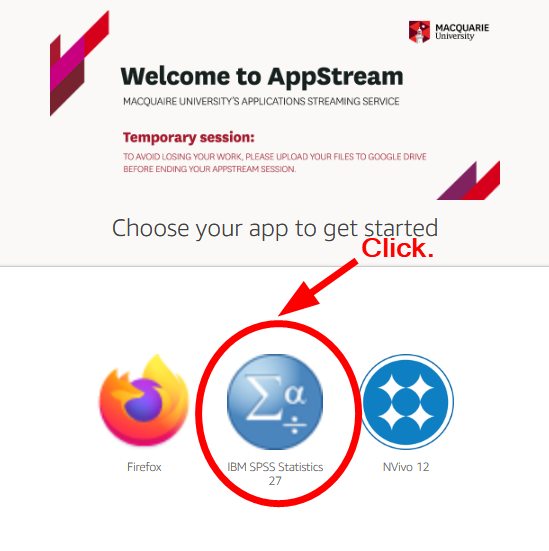
Figure 3: Select SPSS
- Type in your MQ OneID and password.
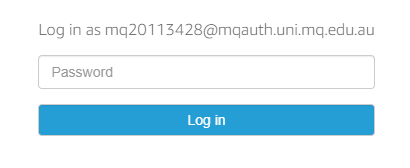
Figure 4: Type MQ OneID
- Select Log in.
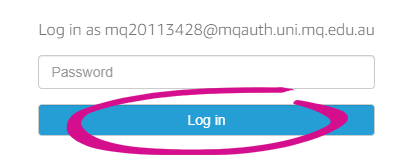
Figure 5: Log In
- You will see SPSS starting and wait until you see the screenshot in the below.
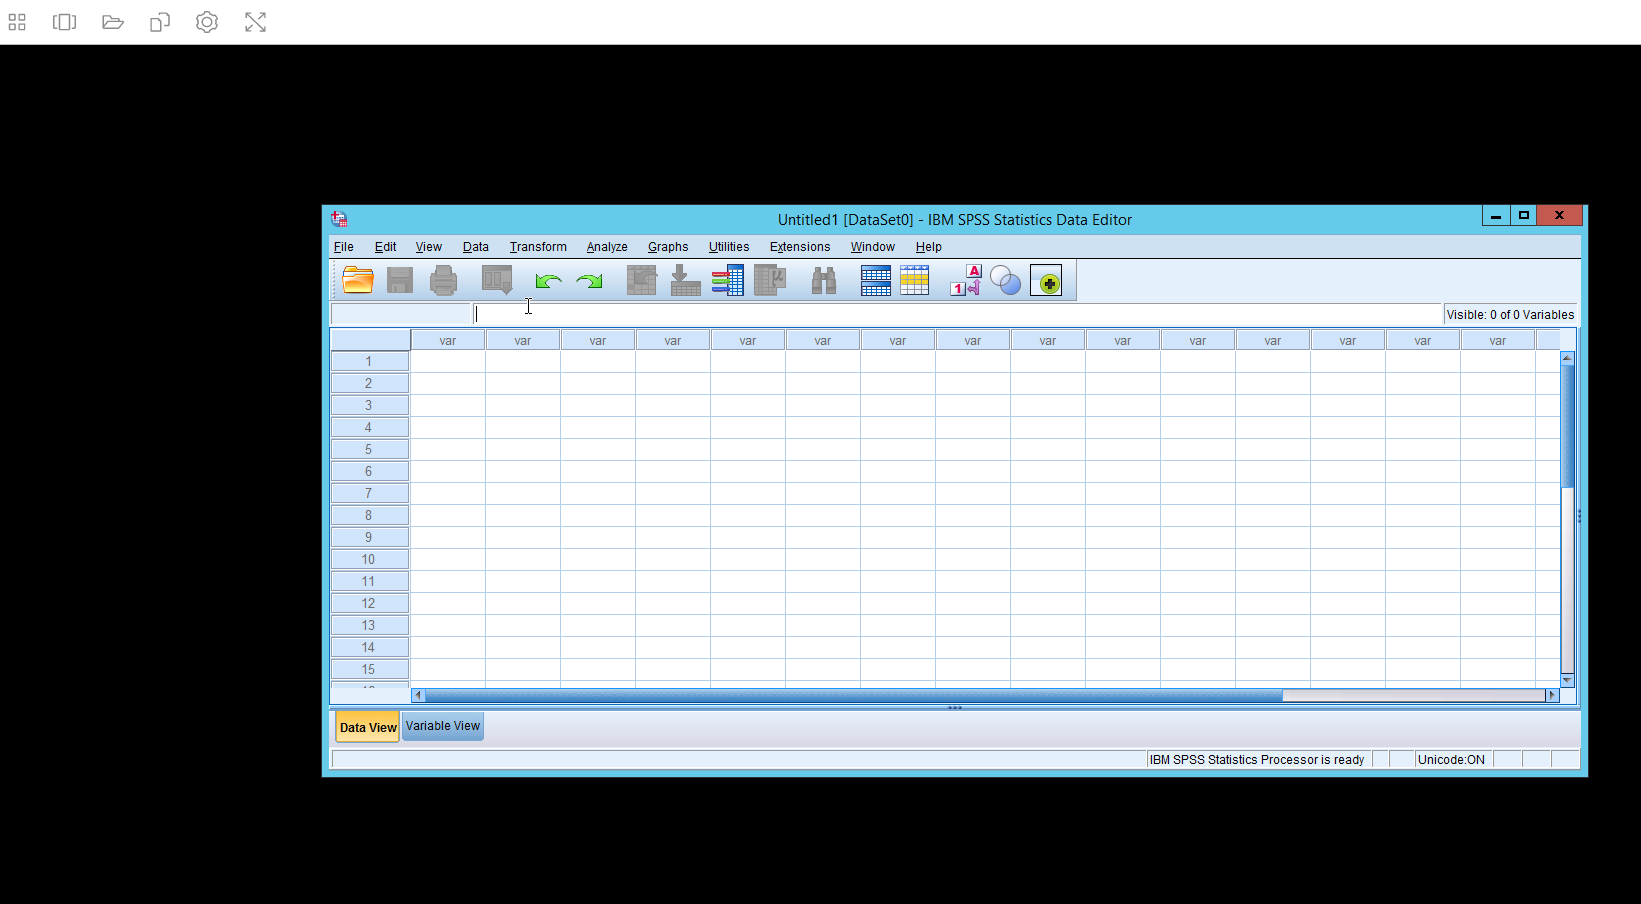
Figure 6: SPSS in AppStream
How to download your work files from AppStream
All AppStream sessions are temporary. After saving your work, you must transfer your work files before ending your sessions.
Save your work in the folder of Temporary Files. You can find this folder under This PC (See the figure below).
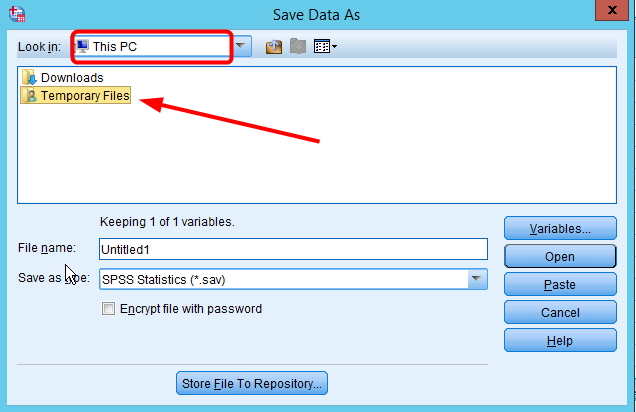
Figure 7: Temporary Files
See How to save your SPSS file for the detail. When you save your work files, the SPSS dialogue box should look like the below figure.
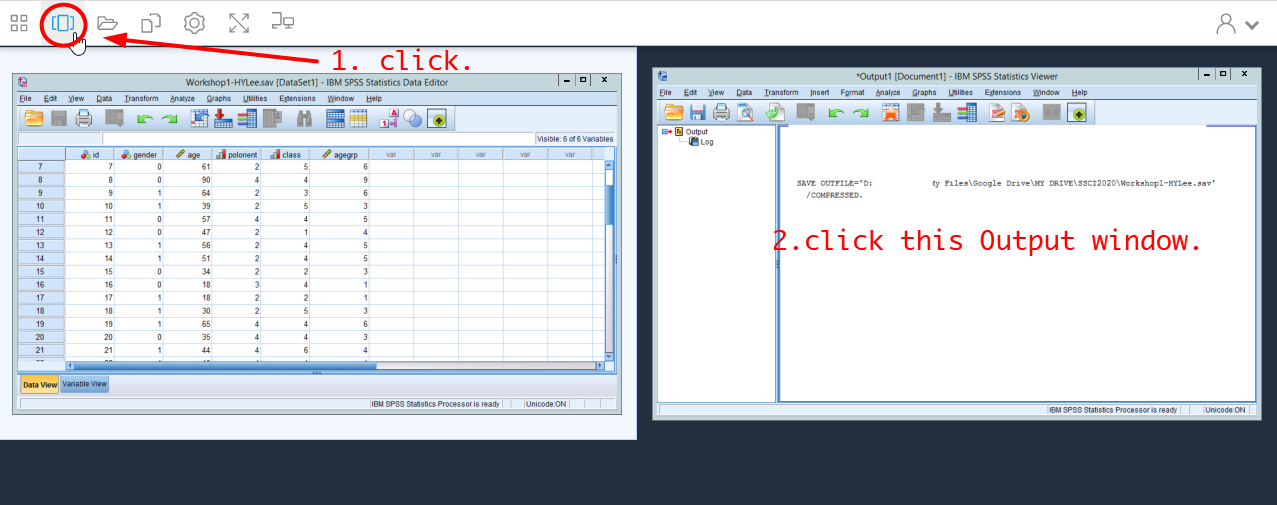
To download your saved SPSS files,
- Select the My Files icon at the top left of your browser.

Figure 8: Select the My Files icon
- Click Temporary Files folder.
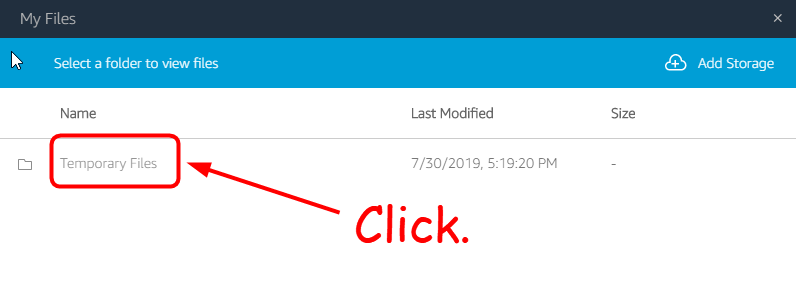
Figure 9: Temporary Files Folder
- You will see your saved work files. Click the file you want to download. Then, it will start downloading the file of your choice.

Figure 10: Temporary Files Folder
How to upload your SPSS work files to AppStream
When you want to continue working on your SPSS work file, you need to upload it to AppStream. To upload your SPSS work file,
- Select the My Files icon at the top left of your browser.
Figure 11: Select the My Files icon
- Select the Upload Files icon at the top right corner.
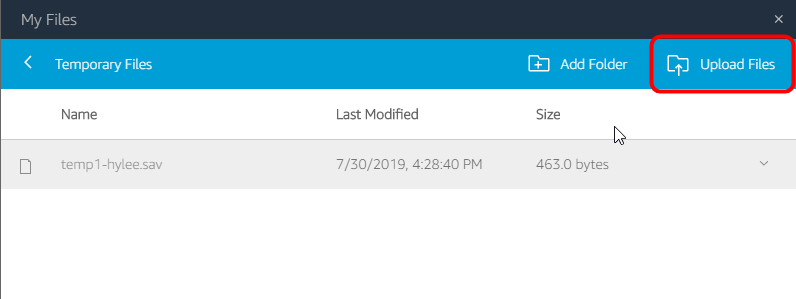
Figure 12: Upload Files
- In the popped-up dialog box, select the file you want to upload. And click Open at the bottom. It will start uploading the file of your choice.
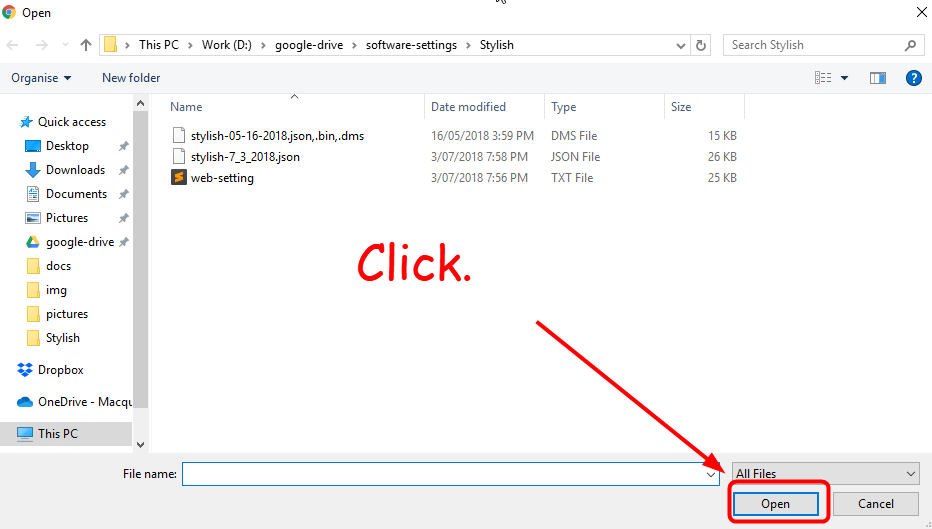
Figure 13: Select Files
- Then, you will see the uploaded file in the folder of “Temporay Files”. Open it in SPSS. Then, you are ready to continue working on it.
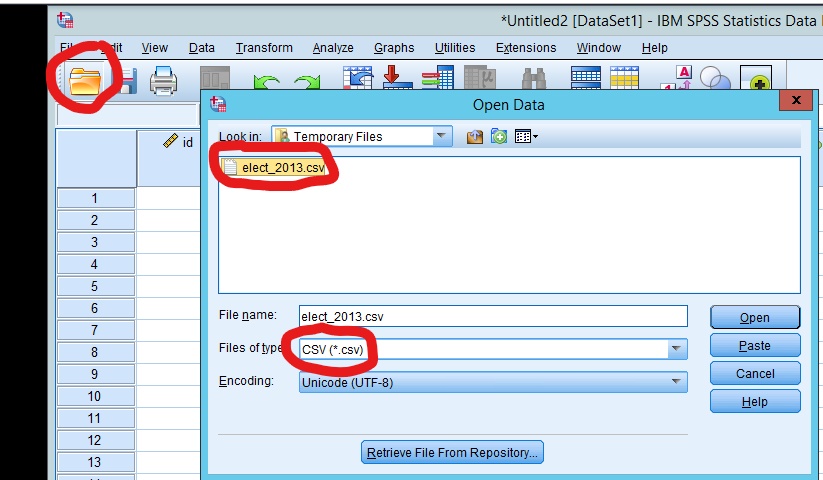
Figure 14: Select Files